Victoria Falls Walking Tour: A Self-Guided Adventure Through the Rainforest
Complete viewpoint-by-viewpoint guide to exploring Victoria Falls on foot, with suggested routes, photography tips, seasonal expectations, and when guided tours are worth it.
Victoria Falls Walking Tour: A Self-Guided Adventure Through the Rainforest
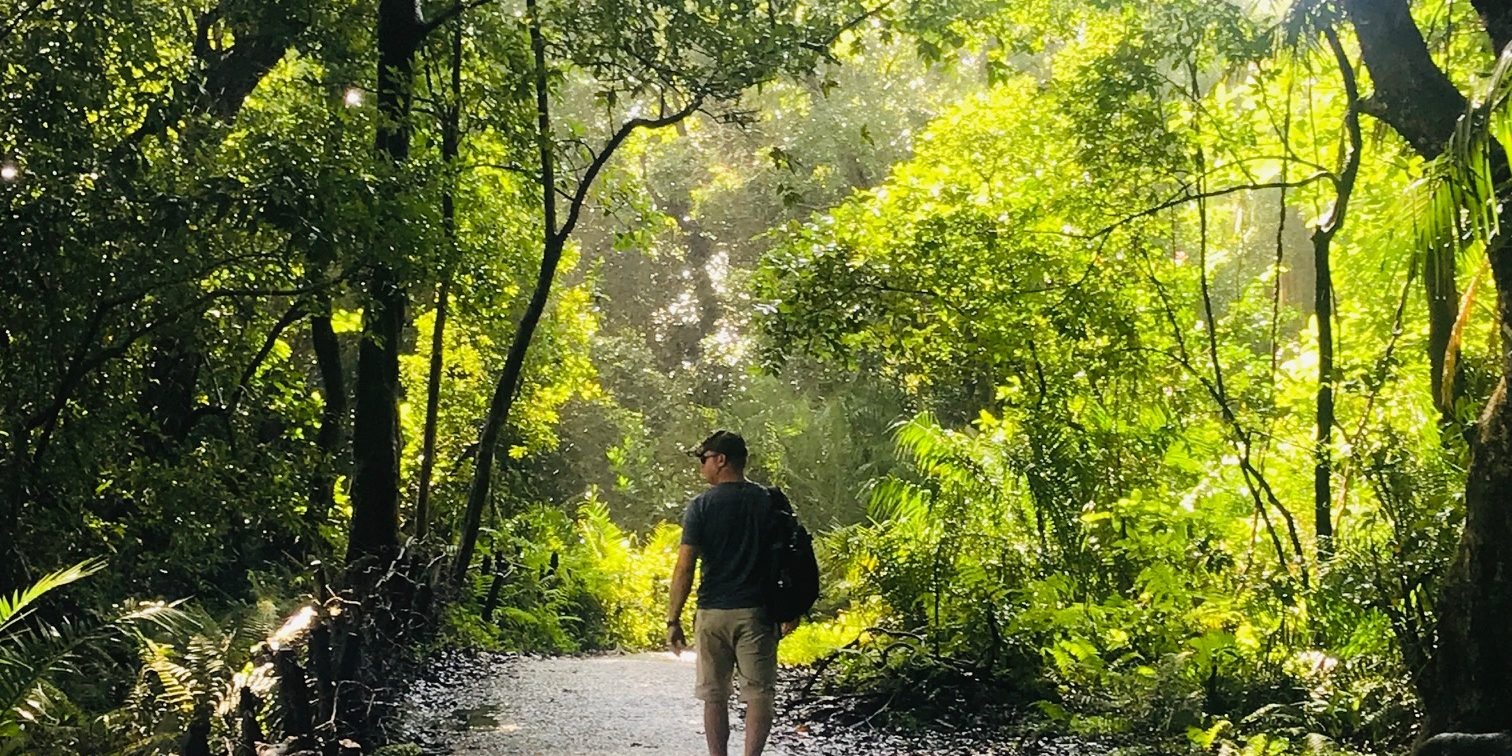
Victoria Falls is best experienced on foot. While helicopter flights and river cruises offer spectacular perspectives, nothing compares to standing beneath the roaring cascade, feeling the spray on your face, and walking through the lush rainforest that the falls create. The self-guided walking tour through Victoria Falls National Park (Zimbabwe side) or Mosi-oa-Tunya National Park (Zambia side) is an essential part of any visit—and it's something you can easily do yourself.
This comprehensive guide takes you viewpoint by viewpoint through the falls, explaining what you'll see, when to visit, what to bring, and how to capture the perfect photographs along the way.
Zimbabwe Side: The Main Viewpoint Trail
Overview
The Zimbabwe side offers the most comprehensive walking experience with 16 official viewpoints connected by well-maintained paved paths through pristine rainforest. The entire trail is approximately 2 kilometers and takes 1.5-3 hours depending on your pace and photography time.
Entry Details:
- Cost: $50 USD for international visitors
- Hours: 6:00 AM - 6:00 PM
- Best Time: Early morning (6-9 AM) or late afternoon (3-6 PM)
- Duration: 1.5-3 hours
Viewpoint-by-Viewpoint Guide
Viewpoint 1-2: Devils Cataract
What You'll See:
- The westernmost section of Victoria Falls
- Dramatic narrow channel with powerful water flow
- First real sense of the falls' power
Best For:
- Understanding the geological formation
- Early morning rainbow photography
- Fewer crowds (many start at main viewpoints)
Photography Tips:
- Wide-angle lens recommended
- Morning light is best
- Look for rainbows in the spray
- Use fast shutter speed to capture water motion
Season Variations:
- High Water (Mar-Jun): Massive curtain of water, heavy spray
- Low Water (Sep-Nov): See individual water channels, less spray
- Mid Season: Balance of flow and visibility
Viewpoint 3: Main Falls
What You'll See:
- The widest section of Victoria Falls
- Often the most powerful and impressive section
- Classic postcard view of the falls
Best For:
- That "wow" moment
- Understanding the scale
- Classic Victoria Falls photographs
Photography Tips:
- This is THE money shot
- Bring rain cover for camera in high water season
- Wide-angle essential
- Try both horizontal and vertical orientations
- Long exposure for smooth water effect
Pro Tip: This viewpoint has the best benches for taking a break and just absorbing the moment.
Viewpoint 4-5: Horseshoe Falls
What You'll See:
- The falls curve in a horseshoe shape
- Often the most photographically dramatic section
- Multiple water layers visible
Best For:
- Dramatic photos
- Understanding the falls' structure
- Spectacular high-water-season views
Photography Tips:
- Circular polarizing filter helps cut spray glare
- This section photos well in all seasons
- Look for the "horseshoe" curve
- Great for drone-like elevated perspective from lookout
Viewpoint 6-7: Rainbow Falls
What You'll See:
- Most likely spot to see full rainbows
- Often multiple rainbows simultaneously
- Beautiful interplay of light, water, and mist
Best For:
- Rainbow photography (obviously!)
- Mid-morning visits (9-11 AM)
- One of the most magical sections
Photography Tips:
- Rainbows appear around 9-11 AM when sun is right
- Polarizing filter can enhance rainbow visibility
- Position yourself to include falls AND rainbow
- Be patient—rainbows come and go with spray
Viewpoint 8-11: Eastern Cataract and Danger Point
What You'll See:
- Falls from multiple angles
- Batoka Gorge below
- Victoria Falls Bridge in distance
Best For:
- Bridge photography
- Understanding the gorge
- Thrilling edge-of-cliff viewpoints
Photography Tips:
- Telephoto lens useful for bridge shots
- Watch footing (paths can be slippery)
- Amazing depth perspective down gorge
- Danger Point lives up to name—be careful!
Viewpoint 12-13: Cataract View and Lookout Tree
What You'll See:
- Panoramic falls views
- Zambezi River above falls
- Best overall perspective
Best For:
- Getting sense of entire falls layout
- Panoramic photographs
- Understanding scale
- Final impressive views
Photography Tips:
- Panorama/wide-angle essential
- Try to capture both river and falls
- Less spray here means clearer photos
- Great for sunset light on far side of falls
Viewpoint 14-16: Knife Edge Bridge and End Points
What You'll See:
- Boiling Pot (where river re-emerges after falls)
- Victoria Falls Bridge close-up
- Start of Batoka Gorge
Best For:
- Bridge photography
- Understanding what happens after the falls
- Watching whitewater rafters below (if lucky)
- Bungee jumpers on bridge
Photography Tips:
- Telephoto for bridge details
- Look down into Boiling Pot
- Watch for rafters in gorge
- Bridge best photographed from here
Zambia Side: Mosi-oa-Tunya Walk
Overview
The Zambia side offers a different perspective—you'll see the falls face-on rather than from the side. It's a shorter walk (about 30-45 minutes) but provides unique views the Zimbabwe side can't offer.
Entry Details:
- Cost: $30 USD for international visitors
- Hours: 6:00 AM - 6:00 PM
- Best Time: Morning or late afternoon
- Duration: 30-60 minutes
Key Zambian Viewpoints
Knife Edge Point
The most famous Zambian viewpoint gets you incredibly close to the falling water—so close you'll be absolutely drenched in high water season.
What to Expect:
- VERY close to the falls
- Heavy spray in high water season
- Face-on view of main falls
- Spectacular perspective
Bring: Waterproof gear (essential March-June)
Eastern Viewpoints
Several viewpoints along the Zambian side offer:
- Views across to Zimbabwe side
- Rainbow opportunities
- Quieter, less crowded atmosphere
- Unique photographic angles
Seasonal Considerations
High Water Season (February-June)
What to Expect:
- Massive volume of water
- Heavy spray (you WILL get soaked)
- Limited visibility in some areas
- Powerful, deafening roar
- Incredible power and drama
What to Bring:
- Waterproof jacket and pants
- Waterproof camera cover
- Waterproof bag for valuables
- Umbrella
- Quick-dry clothing
- Flip-flops or waterproof shoes
Photography:
- Visibility challenging due to spray
- Wide-angle less useful (too much mist)
- Focus on atmospheric shots
- Protect camera equipment
Best Viewpoints:
- Eastern sections (Danger Point, Cataract View)
- Lookout Tree
- Avoid Knife Edge unless you enjoy being drenched
Low Water Season (September-December)
What to Expect:
- Individual cascades visible
- Clear views of rock formations
- Less spray = better photography
- Can see geological structure
- Some sections may be just trickle
What to Bring:
- Sun protection (hat, sunscreen)
- Water bottle
- Regular camera (no water protection needed)
- Comfortable walking shoes
Photography:
- Excellent visibility
- All viewpoints accessible
- Can capture rock formations
- Great for understanding geology
- Wide-angle works perfectly
Best Viewpoints:
- Devils Cataract
- Main Falls
- Horseshoe Falls
- All viewpoints offer something unique
Shoulder Seasons (January, July-August)
What to Expect:
- Balanced flow and visibility
- Moderate spray
- Best overall experience
- Good photography conditions
What to Bring:
- Light rain jacket
- Sun protection
- Camera with weather sealing
- Regular walking shoes
Essential Packing List
Must-Haves (All Seasons)
- Valid passport (needed for park entry)
- Park entry fee (cash USD preferred)
- Water bottle
- Comfortable walking shoes (will get wet)
- Sun protection (hat, sunscreen, sunglasses)
- Camera with protective covering
Seasonal Additions
High Water Season:
- Waterproof jacket and pants
- Waterproof camera bag/cover
- Umbrella
- Quick-dry clothing
- Waterproof phone case
- Extra ziplock bags
Low Water Season:
- Extra water
- Lightweight clothing
- Wider brimmed hat
- Lip balm
Photography Gear
Essential:
- Wide-angle lens (16-35mm or similar)
- Weather-sealed camera preferred
- Rain cover for camera
- Cleaning cloth (spray creates spots)
- Polarizing filter
- Tripod (if serious about photography)
Optional:
- Telephoto for bridge shots
- ND filter for long exposures
- Extra batteries (humidity drains them)
- Waterproof camera case
Photography Tips & Techniques
Best Times for Photography
Morning (6-9 AM):
- Fewer crowds
- Soft morning light
- Rainbows appear as sun rises
- Cooler temperatures
- Best overall for photography
Midday (11 AM-2 PM):
- Harsh overhead light (challenging)
- Crowds peak
- Rainbows still possible
- Very hot
- Not ideal for photography
Afternoon (3-6 PM):
- Beautiful warm light
- Fewer crowds than midday
- Dramatic afternoon light
- Possibility of storm clouds (interesting sky)
- Second-best photography time
Camera Settings
For Flowing Water:
- Shutter speed: 1/500s or faster for frozen motion
- Shutter speed: 1/4s or slower for silky effect
- Aperture: f/8-f/16 for sharp focus throughout
- ISO: As low as possible (100-400)
- Use tripod for long exposures
For Rainbows:
- Polarizing filter enhances colors
- Underexpose slightly for richer colors
- Include falls context with rainbow
- Fast shutter speed (rainbows come and go)
For Spray/Mist Atmosphere:
- Slightly underexpose to keep details
- Look for backlight opportunities
- Silhouettes can be dramatic
- Use spray as compositional element
Walking Tour Routes
Quick Visit (1 Hour)
Best For: Time-limited visitors, cruise ship passengers
Route:
- Enter at main gate
- Viewpoint 3 (Main Falls)
- Viewpoint 5 (Horseshoe Falls)
- Viewpoint 7 (Rainbow Falls)
- Viewpoint 12 (Cataract View)
- Exit
What You'll Miss: Details and full scope, but you'll see highlights
Standard Visit (2 Hours)
Best For: Most visitors
Route:
- All 16 viewpoints in order
- Brief stops at each
- Time for photos
- Enjoy rainforest walk
What You'll Experience: Comprehensive tour of all major viewpoints
Photography-Focused Visit (3-4 Hours)
Best For: Serious photographers, waterfall enthusiasts
Route:
- All viewpoints with extended stops
- Multiple compositions at key spots
- Rainbow waiting time
- Experiment with settings
- Return to favorite spots
What You'll Get: Portfolio-worthy images from multiple perspectives
Double-Side Visit (Full Day)
Best For: Waterfall completists, multi-day visitors
Morning:
- Zimbabwe side (2-3 hours)
- Complete walking tour
Afternoon:
- Cross to Zambia (bring passport!)
- Zambia side viewpoints (1 hour)
- Different perspective
What You'll Experience: Complete Victoria Falls viewpoint experience
When Guided Tours Are Worth It
Self-Guided is Fine If You:
- Have this guide or similar resource
- Comfortable navigating alone
- Want flexibility and your own pace
- On a budget
- Prefer independence
Consider Guided Tour If You:
- Want historical and geological context
- Interested in local culture and stories
- Appreciate expert photography guidance
- Limited time (guides optimize route)
- Traveling alone and want company
- Want transport included
Typical Guided Tour: $50-80 USD per person including:
- Transport from hotel
- Professional guide
- Park entry fees sometimes included
- 2-3 hour experience
- Historical/cultural information
Safety and Practical Tips
Stay Safe
- Paths can be slippery (especially high water season)
- Watch footing near edges
- Railings are there for reason—use them
- Don't lean over barriers for photos
- Supervise children closely
- Watch monkeys (they grab bags/food)
Beat the Crowds
- Arrive at opening (6 AM) for empty viewpoints
- Avoid 10 AM-2 PM if possible
- Late afternoon (4-6 PM) also quieter
- Peak season means more crowds generally
- Zimbabwe side busier than Zambia
Wildlife Encounters
- Monkeys are clever (secure bags!)
- Warthogs often seen (don't approach)
- Birdwatching excellent in rainforest
- Occasional mongoose or small antelope
- Don't feed any wildlife
Combining with Other Activities
Morning Walk + Afternoon Activity
Perfect Combos:
- Morning: Victoria Falls walk
- Afternoon: Helicopter flight
- Why: Ground perspective first, then aerial
OR
- Morning: Victoria Falls walk
- Afternoon: Zambezi sunset cruise
- Why: Falls in morning, relaxing cruise to end day
Active Adventure Day
- Early: Falls walking tour
- Late Morning: White water rafting
- Evening: Dinner and rest
Budget Considerations
Zimbabwe Side:
- Entry: $50 USD
- Guided tour: +$50-80
- Photos by professional photographers: $50-70
Zambia Side:
- Entry: $30 USD
- Usually included in full-day tours
Money-Saving Tips:
- Self-guide (it's easy!)
- Bring your own camera
- Visit both sides on KAZA visa (visit multiple times on one payment)
- Pack own snacks/water
- Go early or late to avoid tour groups
Final Recommendations
For First-Time Visitors
- Allow 2-3 hours
- Go in morning if possible
- Do Zimbabwe side first (more comprehensive)
- Take your time—don't rush
- Bring proper gear for season
For Return Visitors
- Try opposite season from last visit
- Spend longer at favorite viewpoints
- Experiment with photography
- Try Zambia side if you only did Zimbabwe before
- Visit at different times of day
For Photographers
- Visit twice in different lighting
- Bring full photo gear
- Allow 3-4 hours
- Focus on fewer viewpoints for better shots
- Return to spots when light is right
After Your Walk
Continue Exploring
- Visit rainforest paths (additional trails)
- Check out the Big Tree (ancient baobab)
- Shop at craft market (outside park)
- Lunch at Lookout Cafe (views of bridge)
- Walk to Victoria Falls Bridge (free!)
Next Activities
- Helicopter flight for aerial perspective
- Guided tour with professional guide
- Bungee jump or gorge swing for adrenaline
- Sunset cruise for relaxation
Ready to Explore Victoria Falls on Foot?
This walking tour is the foundation of every Victoria Falls visit—don't skip it! Whether you follow this guide yourself or join a guided tour, walking through the rainforest and viewing the falls from multiple angles creates memories and photographs you'll treasure forever.
Start planning your complete Victoria Falls adventure:
- Browse All Activities
- Best Time to Visit
- Photography Guide
- 3-Day Itinerary
- Contact Us for personalized advice
Ready to Experience Victoria Falls?
Explore our curated selection of activities and start planning your unforgettable adventure today.